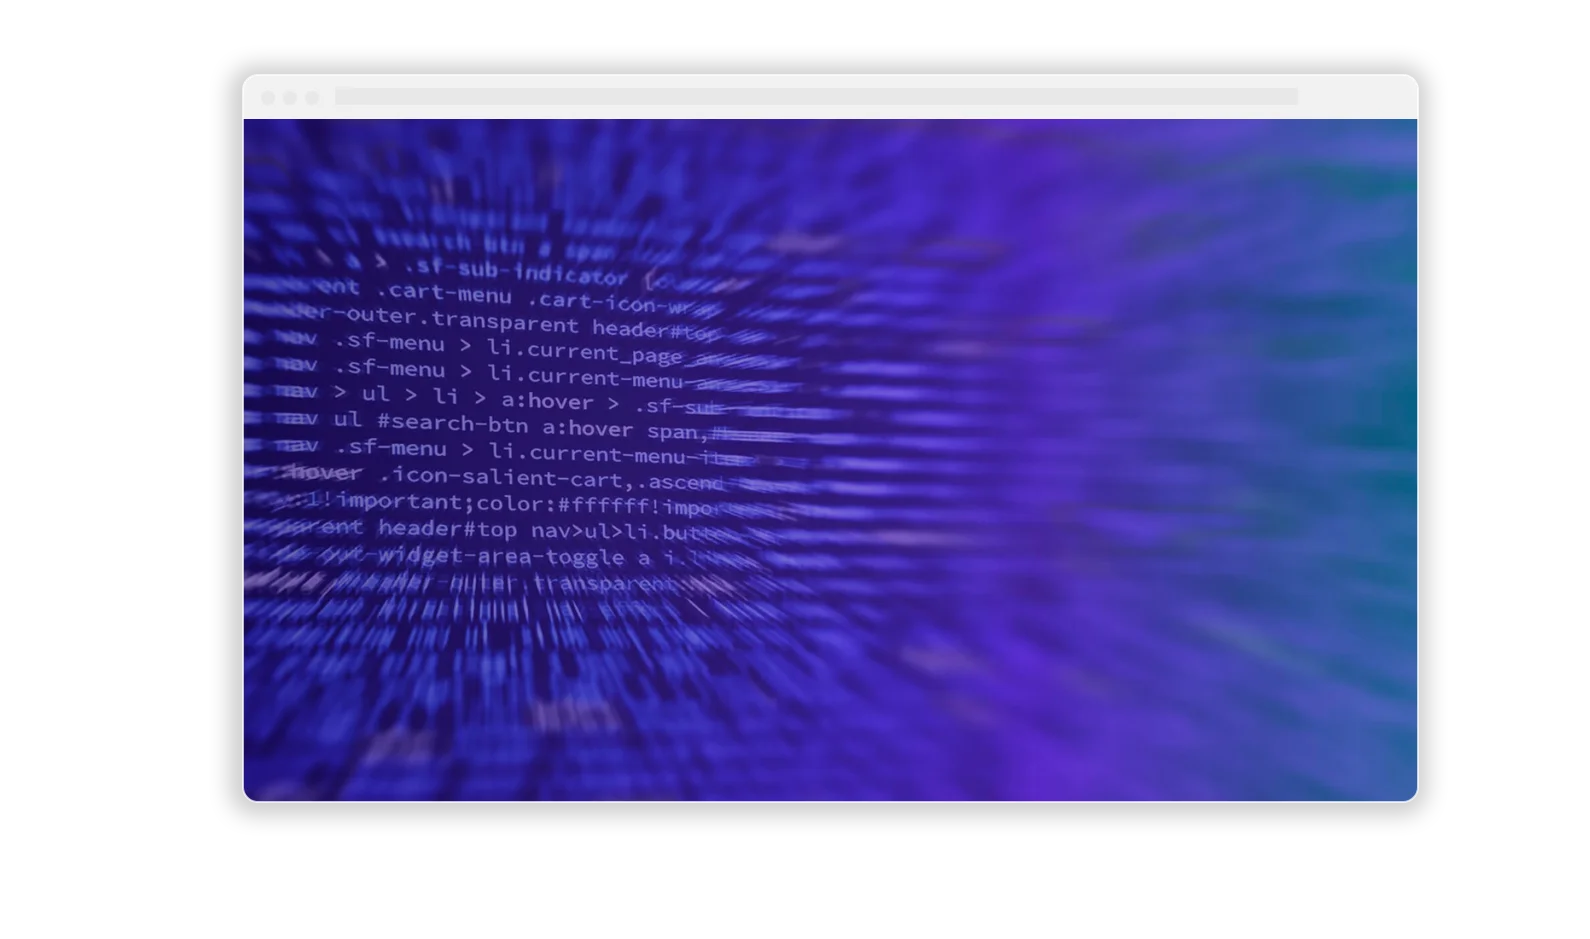


Divi provides a sleek method for achieving a text cutout effect, where a background, covered by a solid or semi-transparent color, reveals the actual background within the text boundaries. The image below visualizes the concept:

To implement this cutout effect, we’ll require the following elements:
- A
Sectionhousing the background. - A
Rowfeaturing a white or black overlay background. Textwith black or white color.
Crafting the Cutout Effect
Let’s start by creating a cutout effect with a white overlay:
- Build a Divi
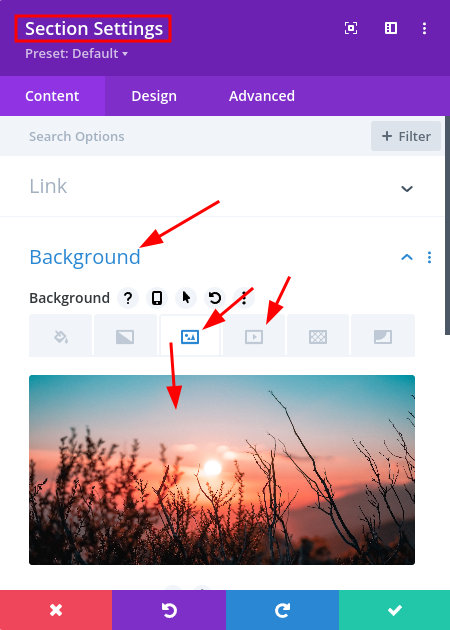
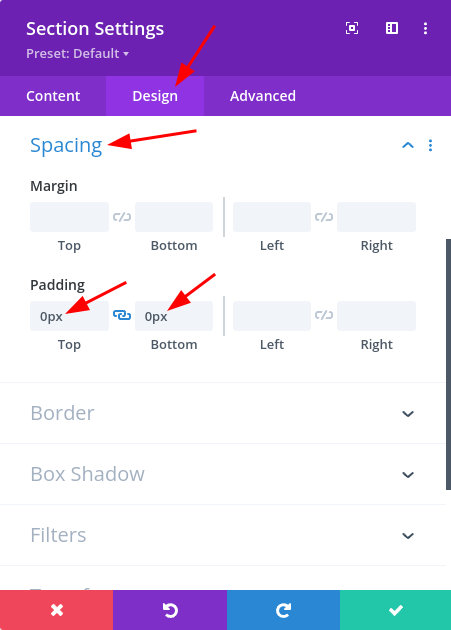
Section, aRowwithin it, and finally, aTextmodule inside theRow. - Navigate to the Section Settings and:
- Add an image or video as the background.

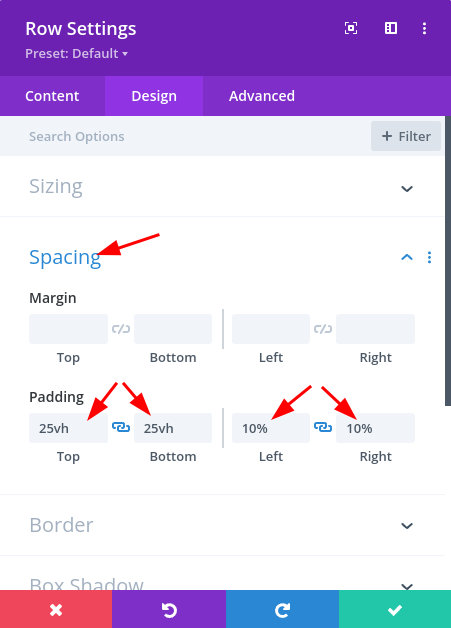
- In
Design>Spacing, set bothPaddingTop and Bottom to 0.
This ensures the Row inside can cover the entire section area.
- Add an image or video as the background.
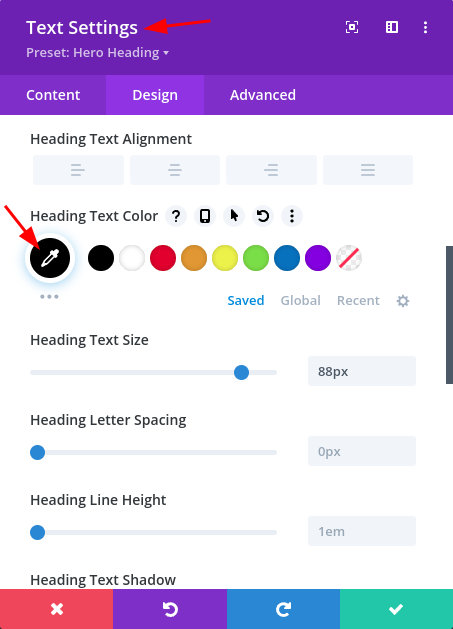
- Open the
Textmodule settings and set the text color to solid black.
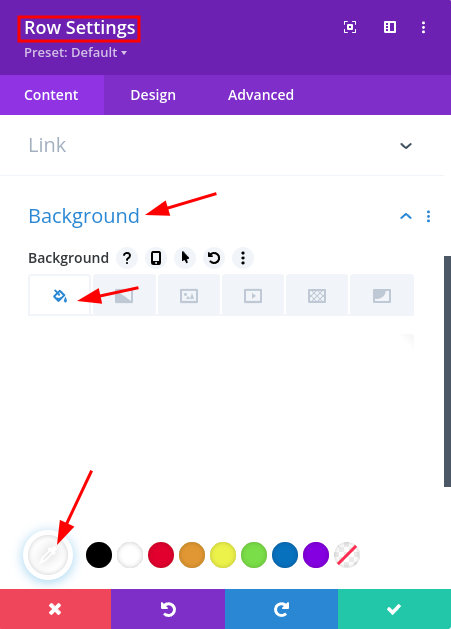
Consider using a heading for a more impactful visual effect. - Adjust the Row settings:
- Set white as the background.
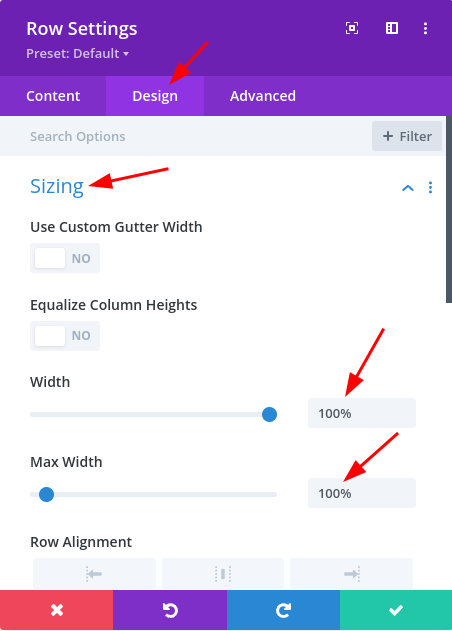
- In the
Designtab, withinSizing, setWidthandMax Widthto 100%.
This ensures the row covers the entire section area. - Add top and bottom
paddingto theRowfor some vertical space. Consider adding side padding to prevent text from touching screen edges.
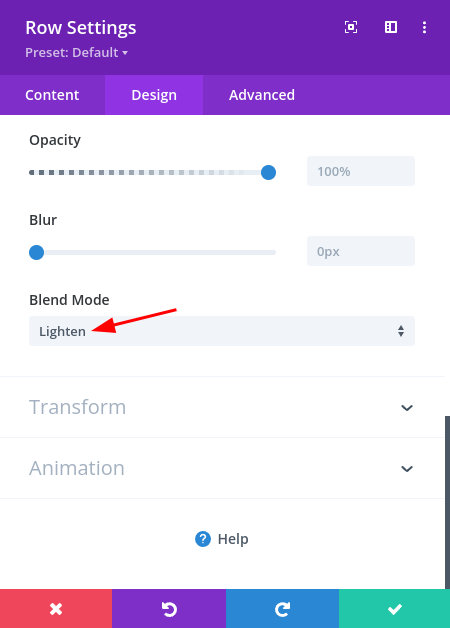
Utilize the VH Unit for height similar to the viewport height. - In the
Filterssection under Row Design options, findBlend Mode, and set it toLighten.
- Set white as the background.
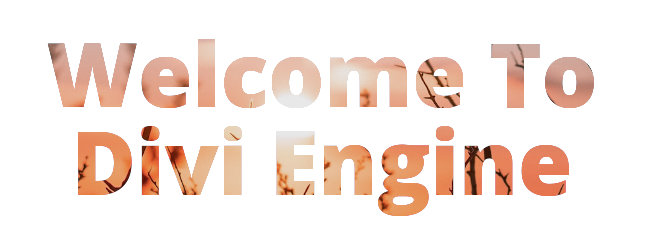
Observe how the text cuts out the white background, revealing the section background image:
Employing a Dark Overlay
Alternatively, you can employ a dark overlay. To achieve this, modify three aspects from the previous instructions:
- In step 3, set the text color to white.
- In step 4.1, set the Row background to black.
- In step 4.4, set the
Blend Modeto Darken.
This results in the same effect with a black overlay:

Elevating the Effect
While the effects are visually appealing, they can benefit from enhancements. Consider these ideas:
- Add Parallax to the background image: Enable the parallax effect for the section’s background image to introduce a scrolling effect.
- Introduce transparency to the overlay: Slightly transparent row background colors can enhance the design.
- Leverage Scroll Effects: Apply Scroll Effects to the text module for animation. Vertical motion and scale work well with this design.
- Explore Video Backgrounds: Use video backgrounds instead of images when incorporating semi-transparent overlays.
- Logo Cutout: Extend the technique to logos by utilizing an all-black or all-white logo with transparency.
Here’s a preview of the text cutout effect after implementing some of these tips:
Elevate Your Divi Skills
By employing blend mode filters for cutout effects, you can craft distinctive sections on your Divi website. Also, by combining Divi Scroll Effects, you can animate the design and make it pop even more. By utilizing this trick, it gives you an edge over the competition.