Divi Shortcodes that Stand TALL
We all use the Divi Theme because of it’s intuitive interface and impressive set of stock modules, but as we are humans, we alway need a little more. Grass is always greener and what not, so sometimes we need to extend that sweet sweet Divi feature set with a plugin or some custom code to nudge it into the features we desire.
Good news, in this installment we will be doing both by using our Divi Mobile plugin and some code to extend some missing functionality in our one and only Divi Theme.
Available Tutorial Series Installments…
This will update as we release more tutorial installments in the series.
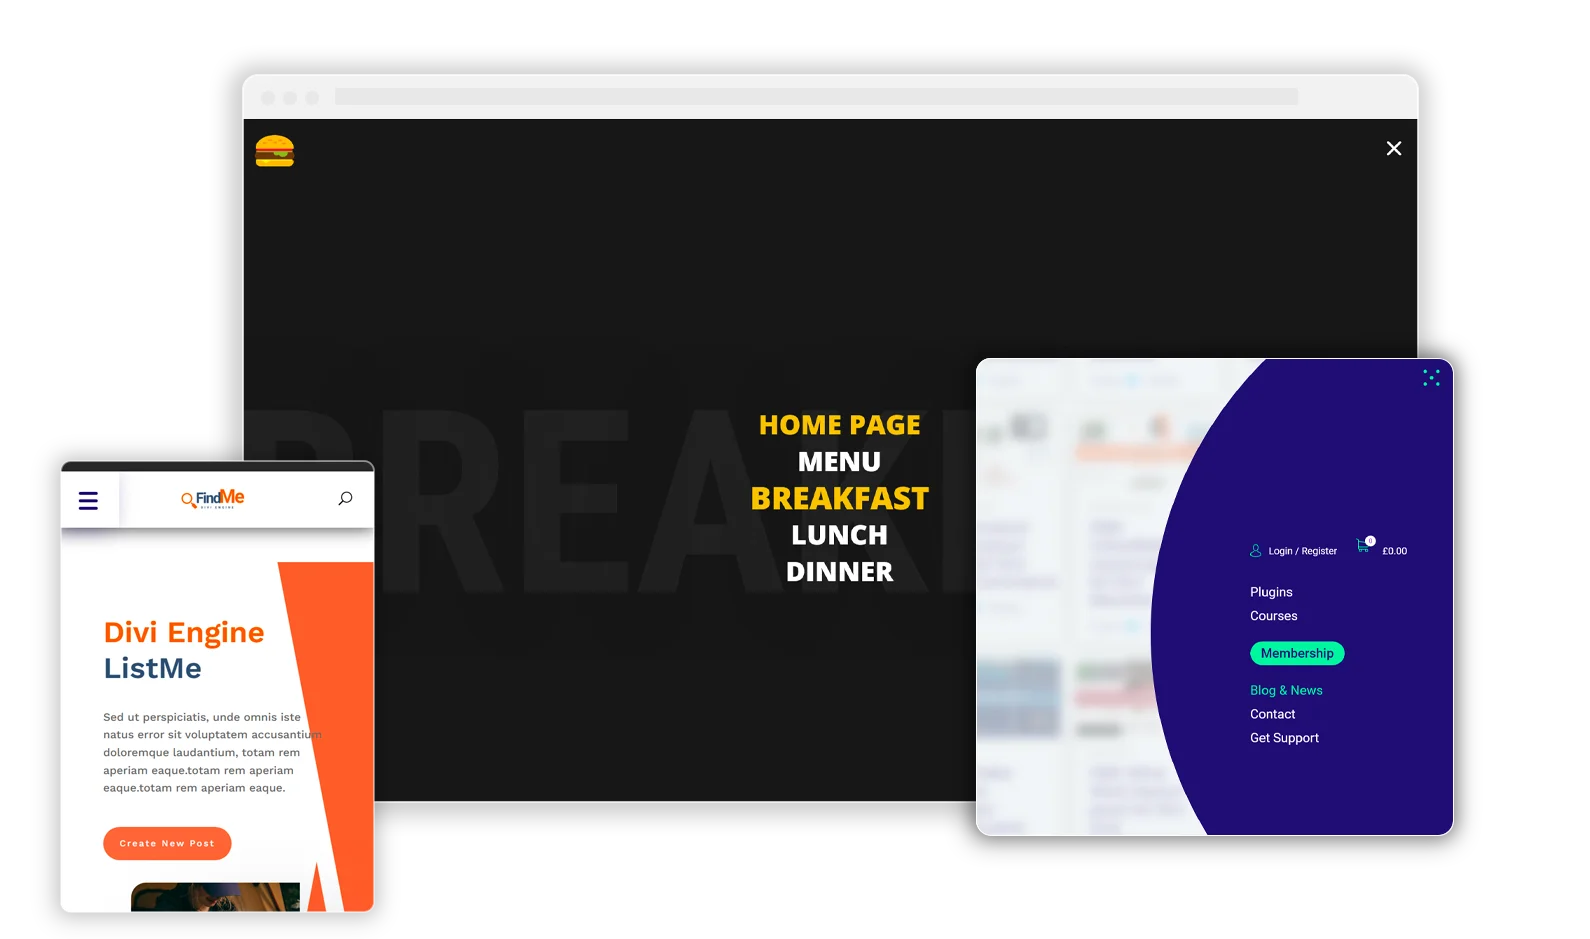
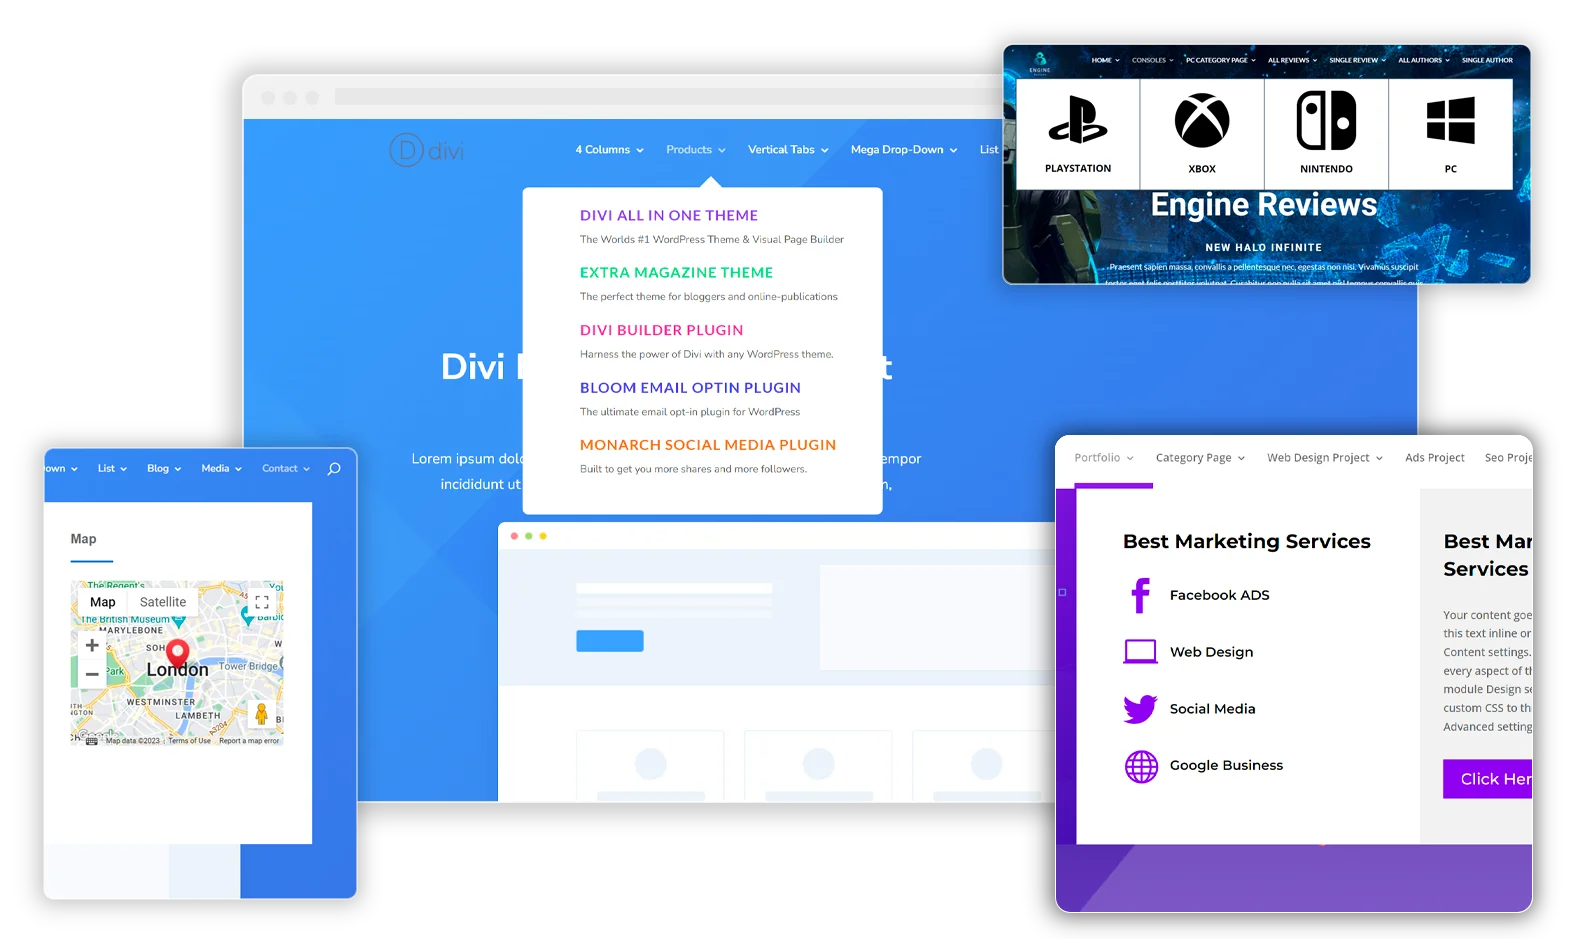
In this installment of our Divi Engine tutorial series, we focus on recreating the Divi Engine website header menu with Divi Mobile and some sweet sweet CSS baby! Not only will we teach you some neat tricks with Divi Mobile, but we will also give you a bunch of useful snippets that add things from WooCommerce cart shortcodes, to Login/Register/My Account shortcodes, to some fancy CSS which will modify some CSS from our How to Add a Call to Action (CTA) Button to the Divi Menu tutorial to fit this Divi menu.
Now, strap in, put on that thinking cap, and let’s get a learnin’! And if you are more of a visual learner, check out the timestamped links to the video in each section below.
Let’s go!
PREVIEW:


Video Tutorial
Table of Contents
- Divi Mobile General Settings Configuration
- Divi Mobile Burger Menu Configuration
- Divi Mobile Menu Style Configuration
- Creating an Injectable Layout
- Code Snippet: Creating a Login/My Account Shortcode for Divi
- Injecting the Layout into your Divi Menu
- Code Snippet: Adding the Icon CSS to Divi Theme Options
- Code Snippet: Creating a WooCommerce Cart Shortcode for Divi
- Code Snippet: Add CSS to Show the Divi Theme Builder Header
- Code Snippet: Add a CTA Button to the Divi Menu
- Create a Separate Menu for Divi Mobile
- Code Snippet: Blur the Menu Background in Divi
- Conclusion
Difficulty
Intermediate
Time
25 Minutes

Divi Mobile General Settings Configuration
In this section, we’ll be customizing the Divi Mobile menu by modifying the general settings and adjusting the breakpoint to make the mobile menu work seamlessly on both mobile and desktop devices. Follow the steps below to achieve the desired Divi mobile menu style:
- Navigate to Divi Mobile settings in the Customizer and access the general settings.
- Set the header to a Divi Theme Builder header and change the preview mode to desktop.
- Adjust the breakpoint of the mobile menu to work on desktops as well by sliding it all the way to the right.
- Visit the Divi Engine site to see the mobile menu alongside the theme builder menu (a code snippet will be provided later).
- Return to the basic setup for the Divi Mobile menu and select the “expand from outside” style.
- Choose the Divi Engine style under the “expand from outside screen style” option.
By following these steps, you’ll have a mobile menu that stretches out from the outside, providing a seamless user experience on both mobile and desktop devices.
Divi Mobile Burger Menu Configuration
In this section, we’ll be focusing on customizing the Divi Mobile hamburger menu icon by changing its style to a three-dot icon, adjusting its position, and modifying its colors. Follow the steps below to customize your Divi Mobile hamburger menu icon:
- Customize the icon: Change the hamburger menu icon to a three-dot style by selecting the “three dots” option.
- Position the icon: Adjust the distance from the top to position the icon correctly on your screen.
- Style closed icon: Set the closed color to your desired color (in this example, purple).
- Style open icon: Set the open color to another color (in this example, Divi Engine green).
- Remove background: Remove the background color by setting the transparency all the way down.
- Remove shadow: Eliminate the shadow by making it transparent as well.
By following these steps, you will have a customized Divi Mobile hamburger menu icon that fits your website’s design and provides a better user experience. Remember to publish your changes to save them.
Divi Mobile Menu Style Configuration
In this section, we’ll work on customizing the Divi Mobile menu styles, including changing the background color, adjusting the width, and setting the spacing between menu items. Follow these steps to modify your Divi Mobile menu styles:
- Change the background color to purple (or your desired color), which is the same as the Divi Engine site.
- Adjust the width of the menu by setting it to 470 pixels (or the desired value) to provide more room for the menu.
- Set the menu text size to 24 pixels (or your preferred size).
- Keep the menu text alignment on the left but set the vertical alignment to center.
- Control the spacing between menu items by setting the line height to 1.5 and adding 5 pixels of padding to the top and bottom of each menu item.
These customizations will help you create a more visually appealing and user-friendly mobile menu for your Divi website. Remember to publish your changes and refresh the page to see the updates take effect.
Creating an Injectable Layout
Alright folks, brace yourselves for some real magic. Ever noticed something missing in your Divi Mobile menu? Well, let’s fill that void with something creative and interactive. With Divi’s amazing feature, injectable layouts, we’re going to make your mobile menu not just good, but outstanding.
Injectable layouts are like a secret sauce. You can build a layout in the Divi library and inject it into your Divi Mobile menu. This super cool feature allows you to add elements like a contact form, social icons and much more, letting your menu stand out and make a lasting impression. Let’s see how to do this!
- Publish any pending changes: Before we dive in, make sure to publish any changes you’ve made so far.
- Navigate to the Divi Library: Now, let’s hop back to the backend, the dashboard of your Divi site. We’re going to work in the Divi Library, so go ahead and open it up.
- Create a new layout: If you don’t have any layouts yet, that’s perfectly fine. We’re going to create a brand new layout to inject into our Divi Mobile menu. Simply hit the “Add New” button and give your layout a name. It could be anything you like, the name isn’t consequential to the functionality.
- Choose the layout type: For the layout type, a ‘section’ usually works best when injecting a layout into Divi Mobile. While you could use an entire layout or a row, a section gives you more flexibility.
- Add a row to your layout: After submitting your layout, go ahead and add a row with two columns. This is because we’re planning to put two items in our mobile menu.
- Add a text module to your row: Head back to your layout and in the first column, put a text module. You could add something like ‘My Account’, or any other text that fits your site’s needs.
That’s it! You’re now on your way to creating a standout Divi Mobile menu using injectable layouts. In the next section, we’ll go into more detail about what you can add to your layout to make it even more awesome.
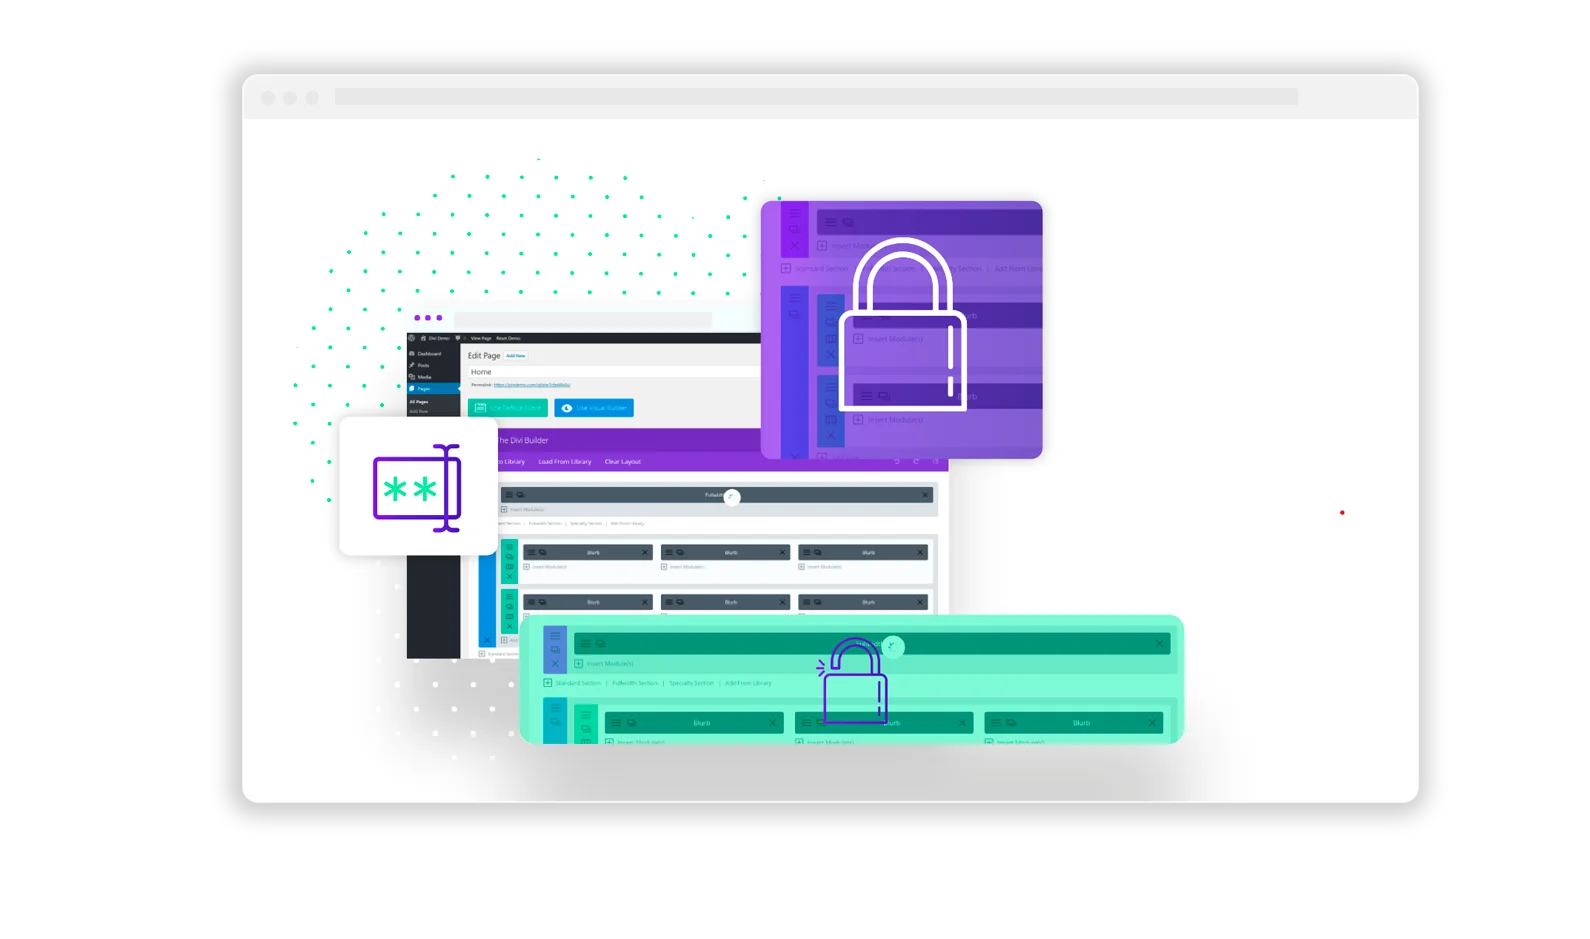
Creating a Login/My Account Shortcode for Divi
functions.php file. This shortcode will allow us to display a “Login/Register” link when a user is not logged in, and a “My Account” link when the user is logged in. This is a helpful feature for creating a seamless user experience on your website.
Here are the steps to add the shortcode:
- Go to Appearance > Theme File Editor.
- Select the
functions.phpfile (make sure you have a child theme installed to avoid breaking your site). - Copy the provided code snippet (available in the description and text version of the tutorial).
- Paste the code snippet at the bottom of the
functions.phpfile. - Update the file.
Now that the shortcode is added, you can use it in your Divi layouts:
- Go to Divi > Library and note the shortcode: [
de_login_register_link icon="e08a"]. - Edit your mobile header layout in Divi.
- Add the shortcode to a text module and save your changes.
Now, you should see the Login/Register link or My Account link, depending on the user’s login status. Feel free to customize the icons and text as needed to match your website’s design. The full list of icons available can be found in the provided link.
Injecting the Layout into your Divi Menu
This section of the tutorial video is about how to inject a layout in Divi Mobile. The speaker walks through the steps to inject the layout and customize options like hiding it on scroll.
Here are the steps outlined in the video:
- Refresh the page on the customizer.
- Go to Divi Mobile settings and select “inject layouts”.
- Choose where you want the layout to be injected, such as above the menu.
- Select the layout you want to use.
- Customize options like hiding it on scroll.
- Hit the publish button and exit the customizer.
- Check to see if the icons are in the right spot.
‘Now things might look a little out of place with our Divi menu, but don’t worry, we will fix that in the next section.
Adding the Icon CSS to Divi Theme Options
In this section, we will learn how to adjust the icon and font size in the Divi Mobile menu. This will help you customize the appearance of your menu to better suit your website’s design.
1. Add the required CSS code to the theme options in Divi. You can also do this through the customizer if you prefer.
2. Paste the provided CSS code snippet and add comments to identify the different parts of the code.
3. Save the changes and refresh the front end to see the updated icon.
4. To adjust the font size, go back to the Divi library and edit the layout settings.
5. Change the text size and font style as desired.
6. Save the changes and refresh the front end to see the updated font size.
7. If the font size is still not as desired, add a new CSS class to target the text directly and adjust the font size accordingly.
8. Update the layout with the new CSS class and refresh the front end to see the updated font size.
9. Adjust the gutter between the columns in the header layout to create more space for the text.
10. Save the changes and refresh the front end to see the updated layout.
By following these steps, you can easily customize the icon and font size in your Divi Mobile menu to better match your website’s design.
Creating a WooCommerce Cart Shortcode for Divi
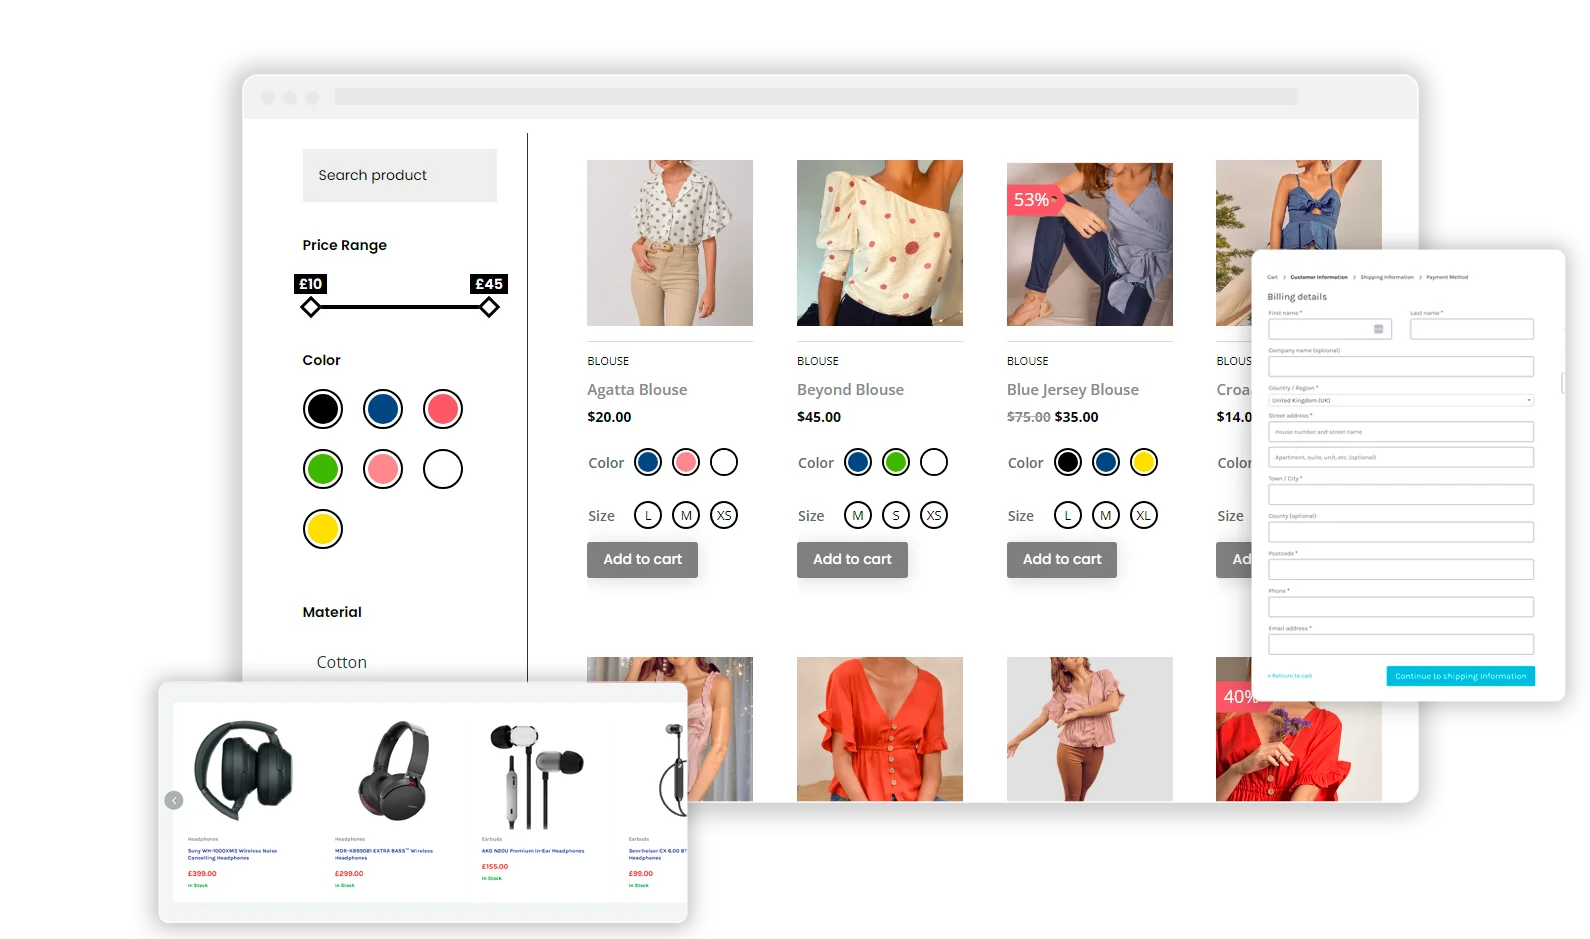
In this section, we will learn how to add a cart icon with the total amount to the Divi Mobile menu. This will allow users to easily see how much they have spent on your Divi WooCommerce store.
1. By default, WooCommerce and Divi do not provide a shortcode for the cart icon with the total amount. We will create one to display the cart total in the desired currency.
2. Go to the theme file editor under Appearance and paste the provided PHP code snippet. This code will create a new shortcode for the cart icon with the total amount.
3. Update the file and copy the new shortcode [divi_engine_cart_icon].
4. Go back to the Divi library and open the mobile header layout.
5. Add another text module and paste the new shortcode.
6. Update the layout and refresh the front end to see the updated cart icon with the total amount.
7. Test the functionality by adding products to the cart and checking if the cart total updates correctly.
8. If needed, adjust the font size and spacing for the register/login link to improve the appearance.
By following these steps, you can add a cart icon with the total amount to your Divi Mobile menu, making it easier for users to keep track of their spending on your Divi WooCommerce store.
Add CSS to Show the Divi Theme Builder Header
In this section, we will learn how to display both the mobile menu and the Divi Theme Builder menu at the same time. This will ensure that your menu stays put and is always visible on the screen.
1. Use the provided CSS code snippet to target the specific elements on the page that you want to display simultaneously. Note that this works with the Theme Builder menu, not the default menu.
2. Go to the Theme Builder options and paste the CSS code snippet at the bottom of the custom CSS section.
3. Save the changes and refresh the front end to see the updated menu display.
4. If needed, modify the Theme Builder settings to remove any unwanted elements, such as the cart icon.
5. Save the changes and refresh the front end to see the updated menu display.
By following these steps, you can display both the mobile menu and the Divi Theme Builder menu at the same time, ensuring a consistent user experience across your website.
Add a CTA Button to the Divi Menu
In this section, we will learn how to add a call-to-action (CTA) button to both the mobile menu and the Divi Theme Builder menu. This will help improve user engagement and direct users to important pages or actions.
1. To create a CTA button, you will need to use a provided code snippet. You can find a detailed tutorial on how to do this [here](#).
2. Before adding the CTA button, create a separate menu for the header, as it might be different from the mobile menu.
3. Go to your WordPress dashboard and navigate to Appearance > Menus.
4. Create a new menu and add the desired menu items.
5. Use the provided code snippet to add the CTA button to the new menu.
6. Save the changes and refresh the front end to see the updated menu display with the CTA button.
By following these steps, you can add a call-to-action button to both the mobile menu and the Divi Theme Builder menu, encouraging users to take specific actions on your website.
Create a Separate Menu for Divi Mobile
In this section, we will walk you through the process of creating a mobile menu in Divi Mobile, which includes adding a button to the menu and blurring the background.
- To add a menu, go to Appearance > Menus.
- Click on the link that says Create a new menu.
- Name the menu “Mobile Menu” and click Create.
- Add the desired menu items (e.g. Home, About, Membership, Contact, Support).
- Save the menu.
- Go to the front end of your website, navigate to Divi Engine settings > Theme Customizer or Divi Engine settings > WordPress settings.
- Assign the newly created menu by selecting Divi Mobile > General > Primary Menu > Mobile Menu and click Publish.
- To add the button code, go to your Dashboard > Theme Options and paste the code snippet provided in the tutorial.
- Save the changes.
- Go back to Appearance > Menus and make sure you are on the “Mobile Menu.”
- Click on the menu item you want to style as a button (e.g. Membership).
- Under Screen Options, select CSS classes to make the CSS classes field available.
- Paste the class you copied earlier into the CSS classes field and save the changes.
- Refresh your website to see the button added to your menu.
In the next section, we will show you how to blur the background of your menu.
Blur the Menu Background in Divi
In this section, we will show you how to blur the background of your mobile menu in Divi Mobile to make it more visually appealing.
1. Go to your WordPress Dashboard.
2. Navigate to Theme Options.
3. Scroll to the bottom of the page to find the code section.
4. Paste the provided code snippet (available in the video description or the blog post on the Divi Engine site) into the code section. The code snippet targets the page container and blurs it when the mobile menu is shown.
5. Save the changes.
6. Refresh your website to see the blurred background effect applied to your mobile menu.
With these steps, you have successfully recreated the Divi Engine mobile menu with a blurred background.
Conclusion
In conclusion, we have demonstrated how easy it is to enhance the functionality of Divi Mobile and your entire Divi installation with a few shortcodes. We showed you how to create a custom mobile menu for desktop, add a My Account link with an icon, display a cart icon with the total dollar amount, inject a layout at the top of your mobile menu, and blur the background of your mobile menu. Additionally, we provided a simple snippet of code to add a call-to-action button to your menu.
We hope you found this tutorial helpful and are excited to see you apply these techniques to your own Divi websites. Stay tuned for the next installment of this series, and as always, we appreciate your support. Happy website building!


0 Comments