
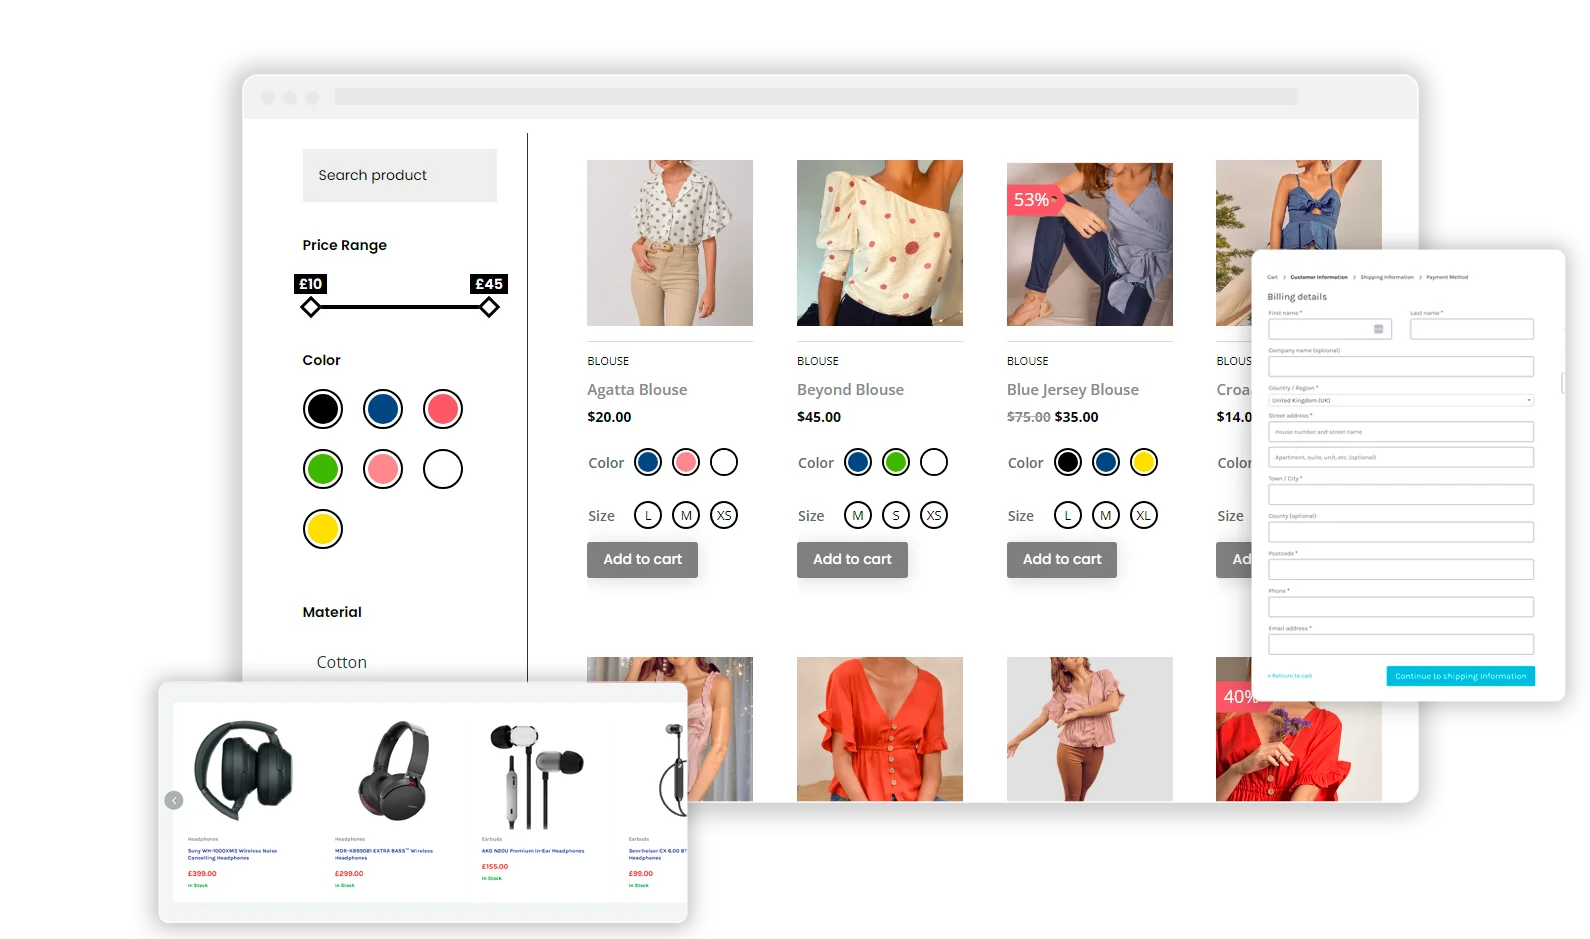
In web design, creating a visually appealing website is akin to setting up a virtual storefront that is inviting and engaging. Central to this visual appeal are the images that illustrate your content and brand story. However, the one-size-fits-all approach falls short in delivering a crisp and tailored visual presentation across diverse screen dimensions. This is where the combined flexibility of WordPress and the Divi Theme becomes a game-changer, permitting tailored management of image display on your website.
By default, WordPress offers several predefined image sizes – thumbnail, medium, large, and full-size. While these sizes cater to general needs, they may not harmonize with the unique design ethos or layout grid of your website, especially when you’re harnessing the extensive customization features of the Divi Theme. Divi, celebrated for its robust customization spectrum, provides a canvas for developers and site owners to refine the visual presentation to a tee.
A potent yet often overlooked method to gain mastery over your image display is by defining custom image sizes. This is achieved by adding a snippet of code to your theme’s functions.php file. This snippet not only creates new dimensions for image cropping but can also be configured for hard cropping. Hard cropping is a technique that ensures your images are cropped and resized to the exact dimensions specified, trimming the image in the process. This is instrumental in maintaining a uniform image size and aspect ratio across your website, which is crucial for a clean, organized visual layout.
The advantages of custom image sizes and hard cropping are multifaceted:
- Precision in Design: They enable precise alignment with your design grid, ensuring images dovetail with the overall layout without any unsightly overflows or underlaps.
- Improved Page Load Time: By employing image sizes that are tailor-made for their display area, you reduce page load time—a pivotal factor for user experience and SEO rankings.
- Enhanced Responsive Behavior: Custom sizes and hard cropping contribute to refined responsive behavior, ensuring captivating visuals on both mobile and desktop interfaces.
- Resource Optimization: They facilitate optimized resource utilization as smaller image files require less bandwidth, thus enhancing your site’s performance.
The journey of adding custom image sizes and hard cropping entails a bit of coding, but it’s a straightforward affair. And the reward? A website that exudes a meticulously curated visual appeal, resonating impeccably with your brand ethos and the interactive narrative you aim to build.
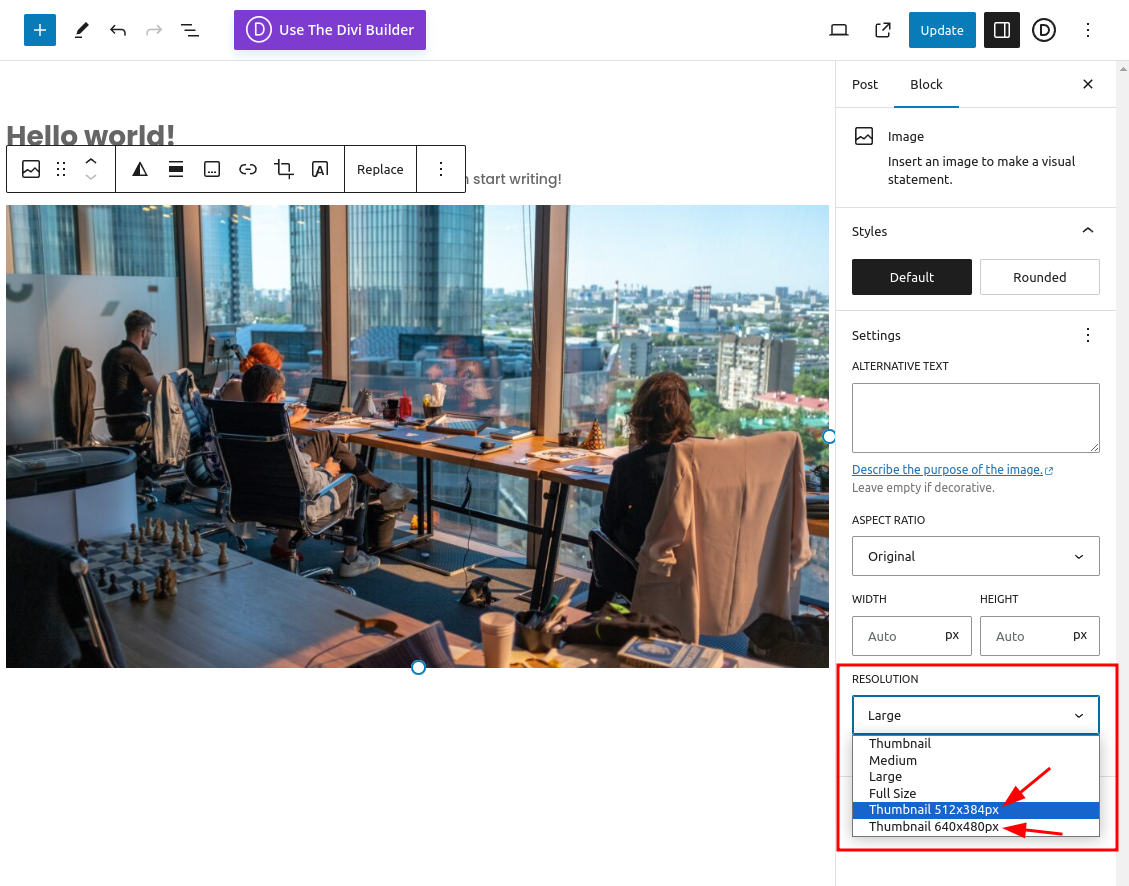
This guide will allow you to add some custom sizes to your WordPress install making them accessible in Divi Image modules and Gutenberg blocks. When you upload a new image to your media library, WordPress will automatically resize and/or crop the image to the specified sizes. In this example, we’ll add resolutions for 512px by 384px and 640px by 480px.
Let’s take a look!
Prerequisite
- You need to have a child theme. If you don’t have one, there are tons of free plugins available at the WordPress Plugin Repository That can help you create a child theme.
Steps to register a custom size in WordPress:
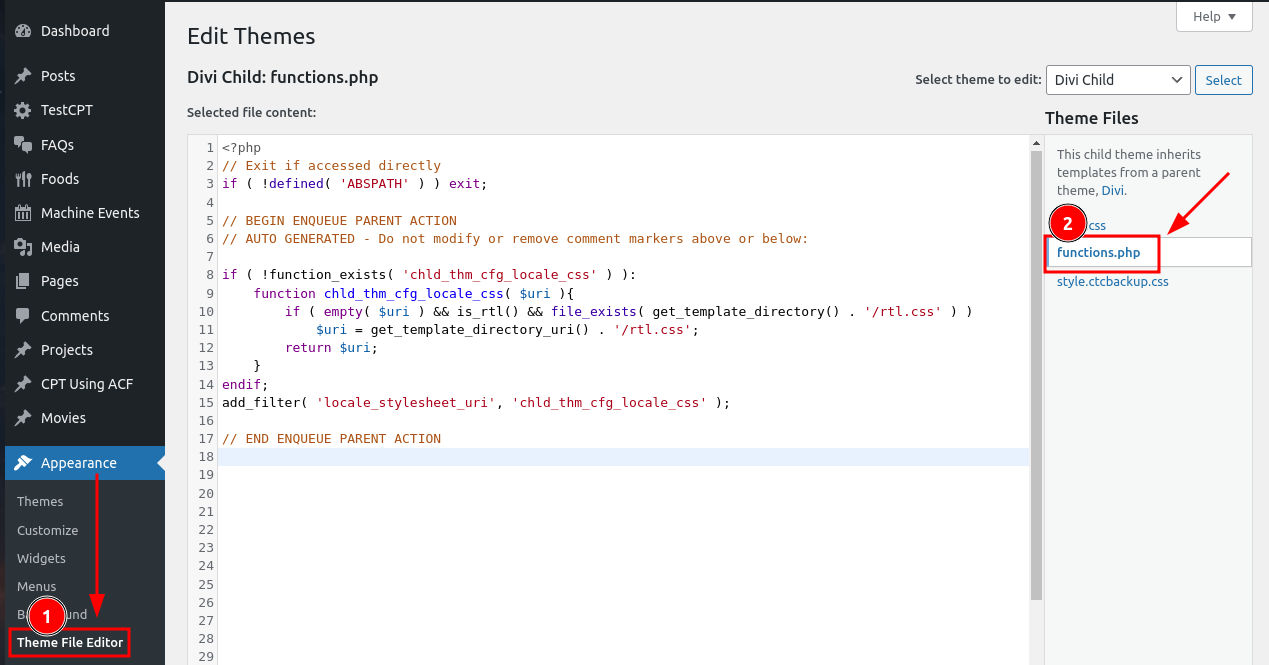
- Edit
functions.phpon your child theme. You can edit in one of the following ways:- In the WordPress Dashboard, go to
Appearance>Theme File Editorand selectfunctions.php.

- You can edit the file directly either by using FTP, or your hosting panel’s web file manager. Either way, you should take a backup before making any changes to the file.
- In the WordPress Dashboard, go to
- Add the following code at the end of the file:
// Add new image sizes:
add_image_size( 'thumb-512x384', 512, 384, true );
add_image_size( 'thumb-640x480', 640, 480, true );
// Register the sizes:
add_filter( 'image_size_names_choose', 'my_custom_image_sizes' );
function my_custom_image_sizes( $sizes ) {
    return array_merge( $sizes, array(
        'thumb-512x384' => __( 'Thumbnail 512x384px' ),
        'thumb-640x480' => __( 'Thumbnail 640x480px' ),
    ) );
}
Understanding and Customizing the Code
In the line add_image_size( 'thumb-512x384', 512, 384, true );, we are calling the add_image_size function of WordPress to add a custom thumbnail size.
thumb-512x384is the name of the thumbnail size. You can name it anything you want, just make sure there are no spaces or special characters other than-and_in the name.- Arguments
512and384define the width and height of the thumbnail size in pixel value. You can customize the values as you want. trueis a boolean value, that specifies whether the images should be cropped to preserve the aspect ratio of the resolution provided. This is called a hard crop. By default, it’s set tofalse, so if you don’t want the images to crop, you can simply remove the argument and the line can look like this:add_image_size( 'thumb-512x384', 512, 384 );. We will discuss customizing the hard crop position in a little bit.
For the line 'thumb-512x384' => __( 'Thumbnail 512x384px' ),, we are registering the sizes.
thumb-512x384is the size we added earlier andThumbnail 512x384pxis the label that will be displayed in WordPress:
You can provide a suitable title and can use spaces in the label.
Hard Crop Positioning
You can set the position of Hard Crop like this:
add_image_size( 'thumb-512x384', 512, 384, array( 'left', 'top' ) );
In this example, we are cropping from the top left corner. the first value in the array is the x-axis (horizontal) crop position, the second is the y-axis (vertical) crop position. The supported values for the X and Y axes are:
- X:
left,center, orright. - Y:
top,center, orbottom.
This way you can set 9 crop positions. When you don’t specify a crop position array, it defaults to center.
Re-generating existing images
Once you add and register custom thumbnail sizes in your child theme’s functions.php, you need to regenerate thumbnails for the existing images in the media library so that those images will be available for the already uploaded images. You can either do it using a plugin or by using WP-CLI in the command line:
1. Use a plugin to regenerate the thumbnails
You can find many plugins in the WordPress plugin repository that’ll let you regenerate thumbnails. You can try the plugin Regenerate Thumbnails. I’ve used it before and it works well.
2. Use WP-CLI to regenerate the thumbnails
If you love the command line like me, then this method is for you. You can use WP-CLI to regenerate the thumbnails of the existing images. All you have to do is cd to the WordPress root directory and enter this command:
wp media regenerate
WP CLI also lets you generate only the missing images, specify the attachment ID of the images to only regenerate specific images, and last but not the list, only regenerate specific thumbnail sizes. You can find all the details here.
Using Custom Thumbnail Sizes With Divi Engine Plugin Modules
Using custom thumbnail sizes is a great method to be used with our Divi Machine Thumbnail & ACF Item modules and the LL Thumbnail module from Divi BodyCommerce. You can also use it with the Thumbnail module that comes with Divi Ajax Filter.
Custom thumbnail sizes with hard crop mode are very useful to be used inside Loop Layouts if you want all the images in an Archive Loop to look the same:
- Thumbnail and LL Thumbnail: You can set a custom registered size in the
Thumbnail Image Sizefield:
- ACF Item module: When using an Image ACF Image field, you can set a custom thumbnail size in the
ACF Itemmodule settings >Image, file, url, phone, email & Link Settingssection >Image Onlytab:


You can also register specific sizes to better optimize your pages. For example, you can have different sizes for different grid sizes as a 4-column grid takes half the size of a 2-column grid. You can also use them for better responsive optimizations using different sizes per device type (Use Divi’s Visibility options).
Conclusion
As we wrap up this insightful venture into adding some custom image sizes to your WordPress site with Divi Theme, it’s refreshing to realize the control and customization we’ve added with minimal effort. By merely injecting a snippet of code into the functions.php file, we’ve opened up a realm of possibilities for tailoring image sizes and employing hard cropping to ensure a sharp, cohesive visual narrative across all device landscapes.
The tutorial highlighted not only the technical process but also the significant impact on user experience, page load speed, and overall website aesthetics. The added precision in design and resource optimization are the cherries on top that make this customization a worthwhile task for any serious web designer or developer building more bespoke sites.
The world of web design is an ever-evolving landscape, with different screen sizes and applications for the imagery on the WordPress sites you build. Today, we’ve delved into a simple yet impactful customization that holds the promise of markedly enhancing your site’s visual appeal and performance. So, as you say seeya to generic image presentations and options, know that you are now equipped to offer a more comprehensive product to your clients.
Go you!
CONTRIBUTOR: Pavak


0 Comments