Say NO to Ugly Divi Form Notices
Yes yes, beauty is all about what is on the inside and not the outside, but what if you can have both? Would you say no? Wouldn’t you want to know how to create Custom Divi Form Notices Using the Divi Builder along with a little plugin called the Divi Form Builder? I sure do, and when you see how quick and easy it is to do, so will you.
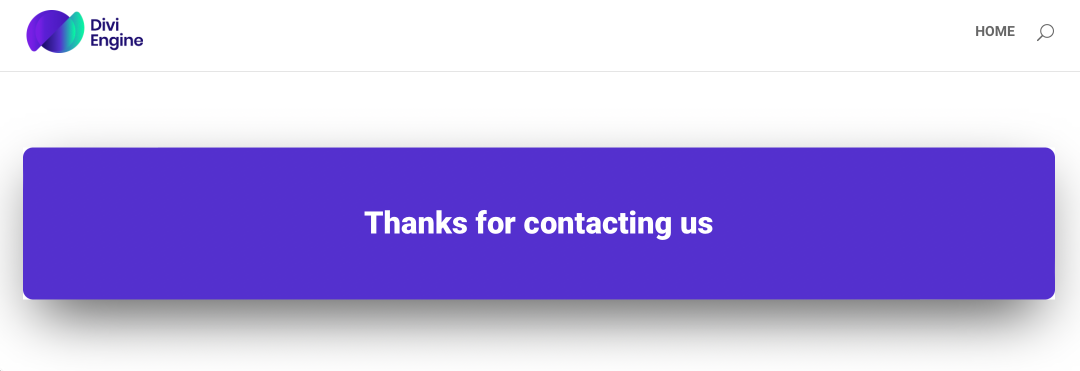
These Divi Form Notices are a great way to convey extra information to the user after they have completed your form. Some uses could be next steps, a coupon code or just a general thank you for them being them.
Why don’t you join me as I explore one of the many features you’ll find in this solid 10 in both the beauty and brains department. Just like colored contact lenses, you don’t need to tell people you wear them, all they’ll do anyway is stare in awe.
BUT!
And there always is a but, but let me start by showing you how one would do some basic styling just using some sweet sweet lines of CSS code. After that, we’ll do something we’ve not done in a while, which is to do a quick tutorial on one of our plugins that just basically makes life 1000% easier.
We’ll dive into how you’d go about creating custom success or failed Divi form notices. To do this we’ll be using Divi Form Builder and the Divi Builder you already know about as well as that one itchy spot you can’t reach that drives you nuts.
Good news! Divi Form Builder was designed to scratch the itches the stock Divi Form Module does not. In about 5 minutes flat we will build a form using Divi Form Builder, build a form notice layout using the Divi Builder, then assign that layout and scratch that itch. Now, as always, I ramble on and get into more detail in the videos so I definitely recommend you watch that instead, but here follows the also expertly crafted text version.
Ready?
Preview:
Video Tutorial
Table of Contents
Difficulty
Easy
Time
15 Minutes
PART 1
Style the Divi Form Success Message with CSS
Let’s do that, shall we?
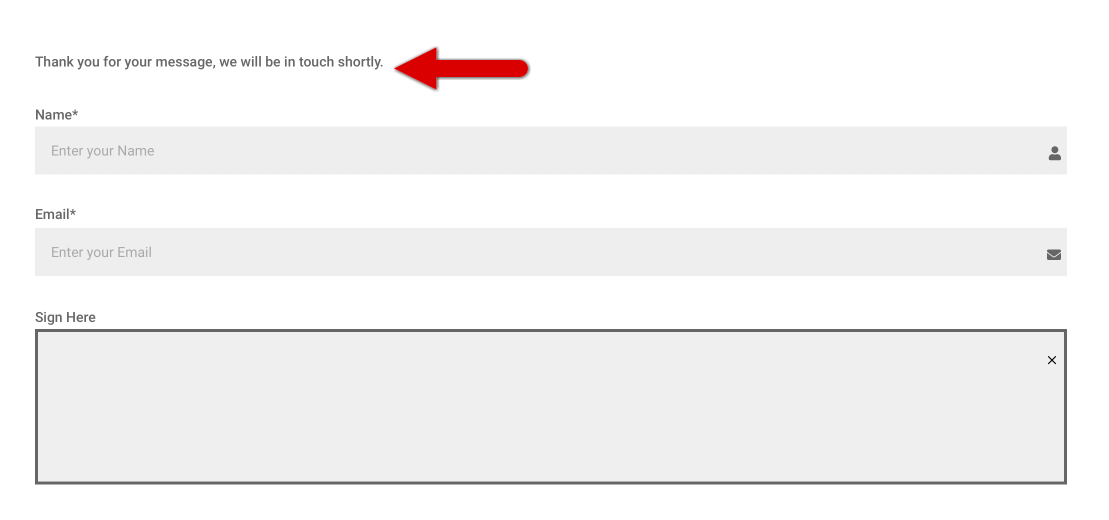
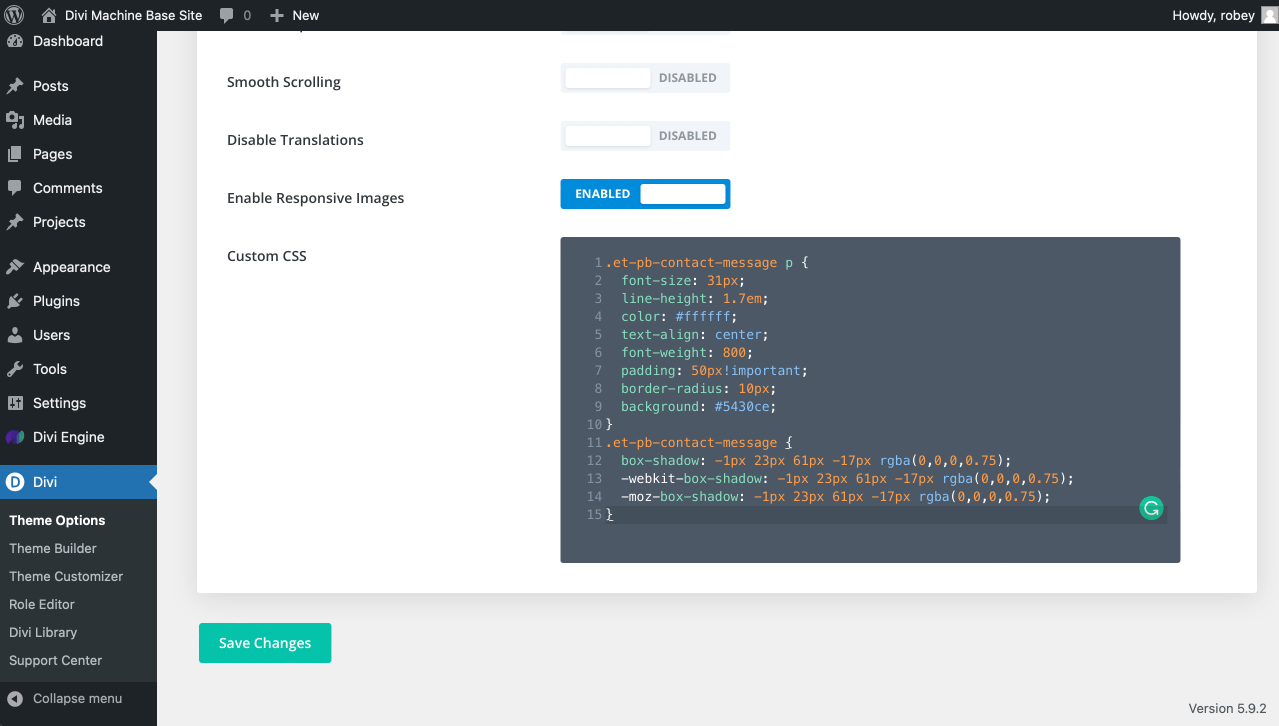
First, we will add some CSS to the Divi Theme Options that will style our Divi Form Success Notices.
Divi > Theme Options > Custom CSS
Copy and Paste the code below in the Custom CSS box.
Voila! You already have a somewhat better-looking Divi Form Notice going on. This was pretty easy, but your options are also pretty limited.
Now, let’s get out the big guns and look at how we can completely transform your Divi Forms using the Divi Form Builder plugin.
PART 2
Building the Divi Form Builder Layout
How exciting! You own the Divi Form Builder plugin, so the power to create custom Divi form notices with the Divi Builder rests in your hands. Go you! Now before we gel our hair, bust out the cologne, and get all fancy, we first need to set the stage by building a form for our custom Divi form notice.
Let’s do that, shall we?
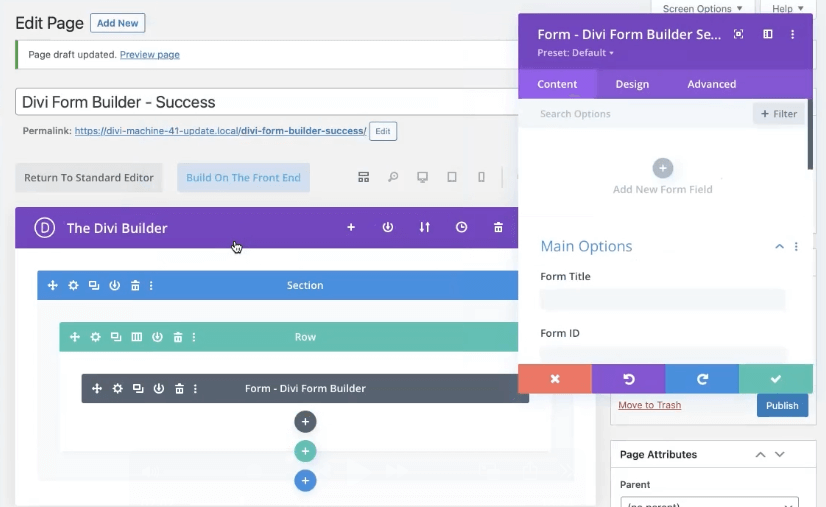
To start, Add a New Page, Single Column Row, and Divi Form Builder Module.
Pages > Add New > Add a Single Column Row > Add a Divi Form Builder Form Module
Divi Form Builder Form Module Settings
Add New Form Field
Field Options
Field Title: “Name”
Type: Input Field
Required Field: YES
Layout Options
Field Label Position: Top
Placeholder Text: “Enter your name”
Enable an Icon on the input: YES
Icon: Search “person” and add an icon
SAVE
Add New Form Field
Field Options
Field Title: “Email”
Type: Email Field
Required Field: YES
Layout Options
Field Label Position: Top
Placeholder Text: “Enter your email”
Enable an Icon on the input: YES
Icon: Search “email” and add an icon
SAVE
Add New Form Field
Field Options
Field Title: “Sign Here”
Type: Digital Signature Field
Required Field: YES
Layout Options
Field Label Position: Top
SAVE
Building the Custom Divi Form Notice Layout
Boom, we got that Divi Form Builder form done with our unique digital signature field in no time, so now we can get to the fun and how you how to create a custom Divi form success message using the Divi Builder and Divi Form Builder. Yes, those sound the same.
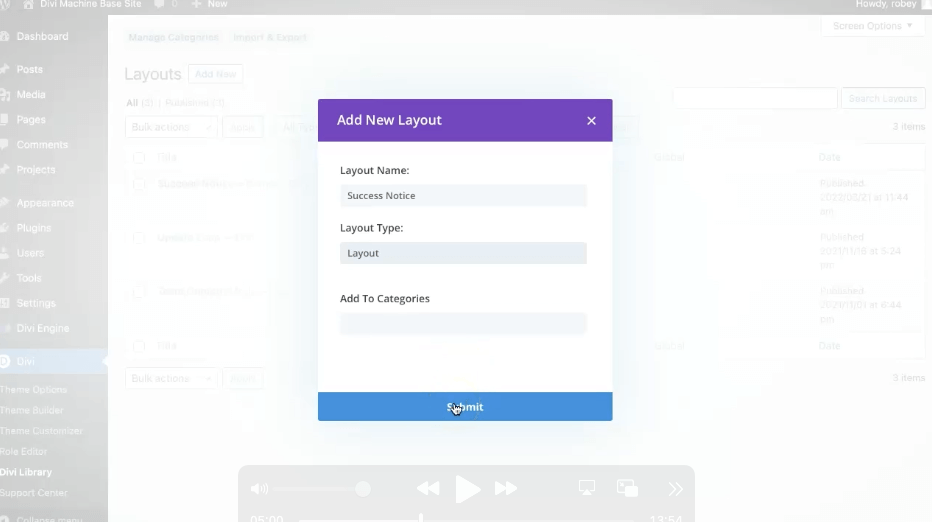
Divi > Divi Library > Add New
Layout Name: “Success Notice”
Layout Type: Layout
Great, now we just need to structure this layout with the needed rows and modules. You definitely shouldn’t build the layout I’m building because I am a terrible designer, here you have the freedom to create what you want. Just makes sure it conveys the information to the user that you want them to know AFTER submitting the form.
Let’s add a Two-Column Row then a Text Module.
Text Module Settings
CONTENT TAB
Text
Body(Text View):
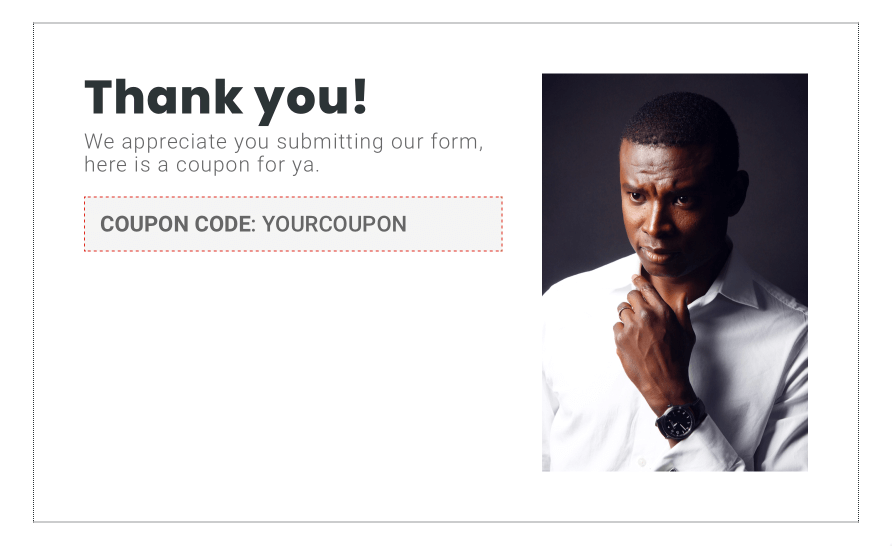
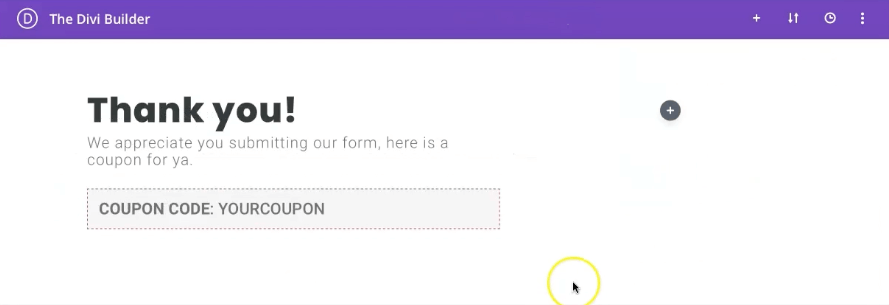
<h1>Thank you!</h1>
We appreciate you submitting our form, here is a coupon for ya.
DESIGN TAB
Text
Text Font Weight: Light
Text Text Color: #2d3436
Text Text Size: 21px
Text Letter Spacing: 1px
Heading Text (H1)
Heading Font Weight: Ultra Bold
Heading Text Color: #2d3436
Heading Text Size: 47px
SAVE
We will add some spice by including a coupon code for folks that submitted their form. Do note that we won’t be actually creating the coupon code, this is just to demonstrate a use-case for the custom Divi from notice.
Let’s add another Text Module.
Text Module Settings
CONTENT TAB
Text
Body: “COUPON CODE: YOURCOUPON”
Background
Background Color: #f4f4f4
DESIGN TAB
Text
Text Text Size: 22px
Spacing
Padding Top/Bottom/Left/Right: 15px
Border
Border Width: 1px
Border Color: Red
Border Style: Dashed
SAVE
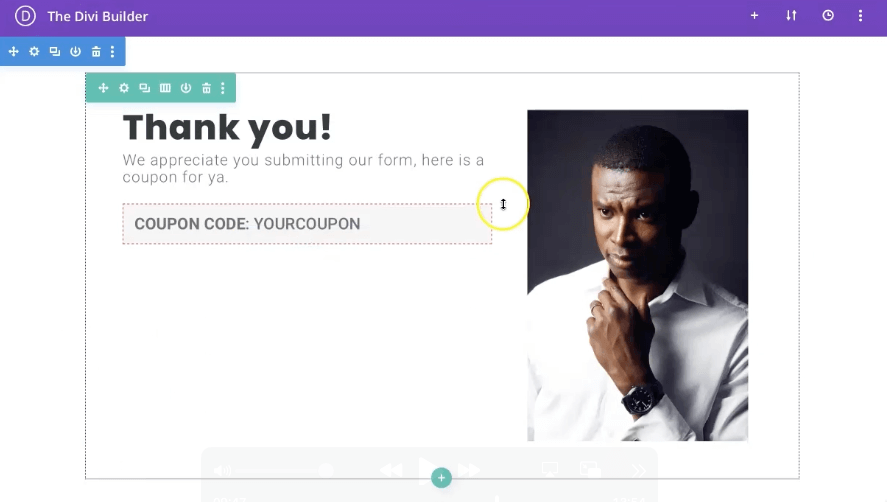
Right now we are at the halfway point and your form should look something like this. Now we’ll wrap things up for this Custom Divi Form Notice layout by adding some extra bells and whistles.
Let’s add an Image Module in the second column.
Image Module Settings
CONTENT TAB
Image
Image: Pick a portrait photo from Pexels.com
DESIGN TAB
Sizing
Max Width: 300px
SAVE
Let’s wrap it up by adding some styling to the Row.
Row Settings
DESIGN TAB
Spacing
Padding Top/Bottom/Left/Right: 50px
Border
Border Width: 1px
Border Color: #2d3436
Border Style: Dotted
SAVE
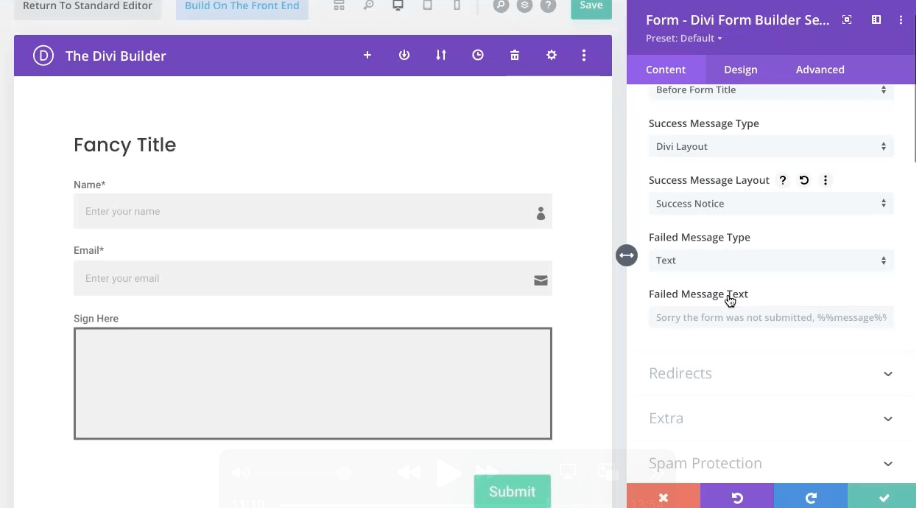
All done, now all that is left to display this custom Divi Form Notice is to assign the layout in the Divi Form Builder Form Module.
Assigning the Divi Form Notice Layout to the Form
Pages > Edit Page > Form Settings
Divi Form Builder Form Module Settings
CONTENT TAB
Notices
Success Message Type: Divi Layout
Success Message Layout: Success Message (or whatever you named the layout you created)
SAVE
Formidable? Not so much…
Conclusion
Sorry, I forgot to tell you to boil some water for your coffee before we started learning how to create Custom Divi Form Notices Using the Divi Builder and our Divi Form Builder plugin because that would have been ready just about now. My bad. That said, hopefully, you followed along and are now saddled with the skills needed how to quickly build some amazing notices that will convey extra information, convert visitors into customers, or just add some pazazz to your Divi sites.
Definitely head to our Youtube Channel and subscribe to make sure you don’t miss a single thing because this is going to be valuable for you and your design agency!
Catch you folks next week!










0 Comments